

Introduction to the Flow360 WebUI#
Welcome to Flow360. This tutorial introduces the Flow360 web-based user interface and the first step of a CFD simulation: uploading your CAD geometry.
Downloads
Download the following CAD geometry file to your local machine:
Access Flow360
Sign in to Flow360 at flow360.simulation.cloud.
If you do not have an account yet, contact our sales team to get an invitation code.
Uploading a geometry CAD file#
Start by creating a new project. Click New project on the dashboard to open the New project window, then fill in the fields below. Each field is described in Starting Project.
Project name: any name you like, for example
eVTOL Quickstart.Solver version: keep the preselected default release.
Project length unit: the unit your CAD geometry was created in. The eVTOL geometry is in meters, so keep the default
m.Description: optional.
Creation methods: keep From geometry.
Use CAD Importer V2: leave it off. The beta mesher used in the next tutorial needs CAD Importer V1, which is also the importer that reads
.csmfiles.
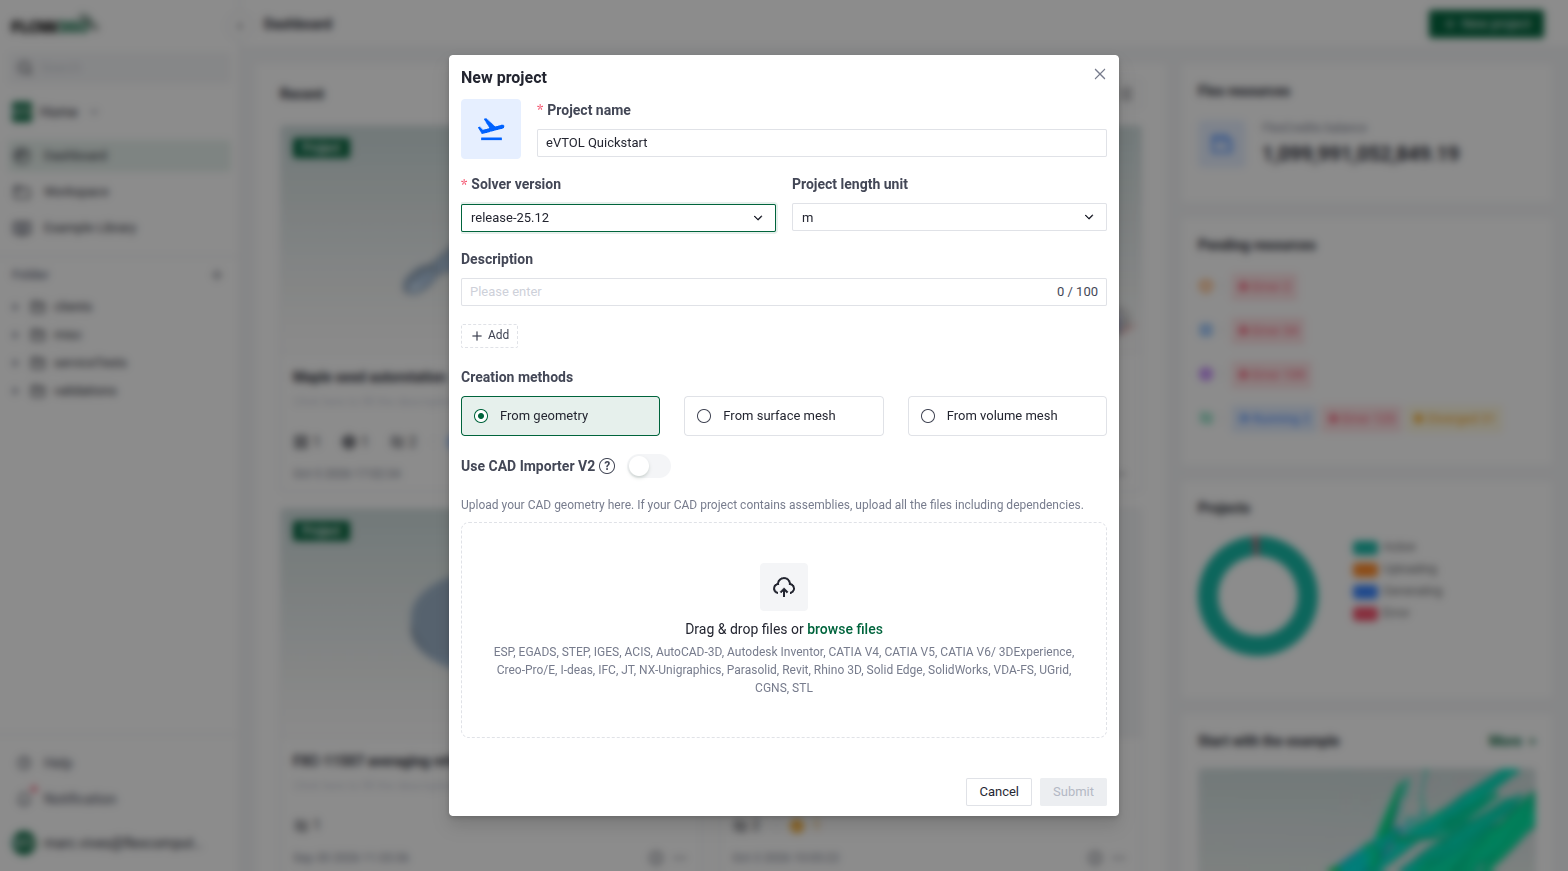
The New project window.#
The formats Flow360 can import, with their file extensions, are listed in Starting Project.
Drop the evtol_quickstart_grouped.csm file downloaded previously into the drop area, or click browse files to select it. The file appears in the list below the drop area, ready to upload.
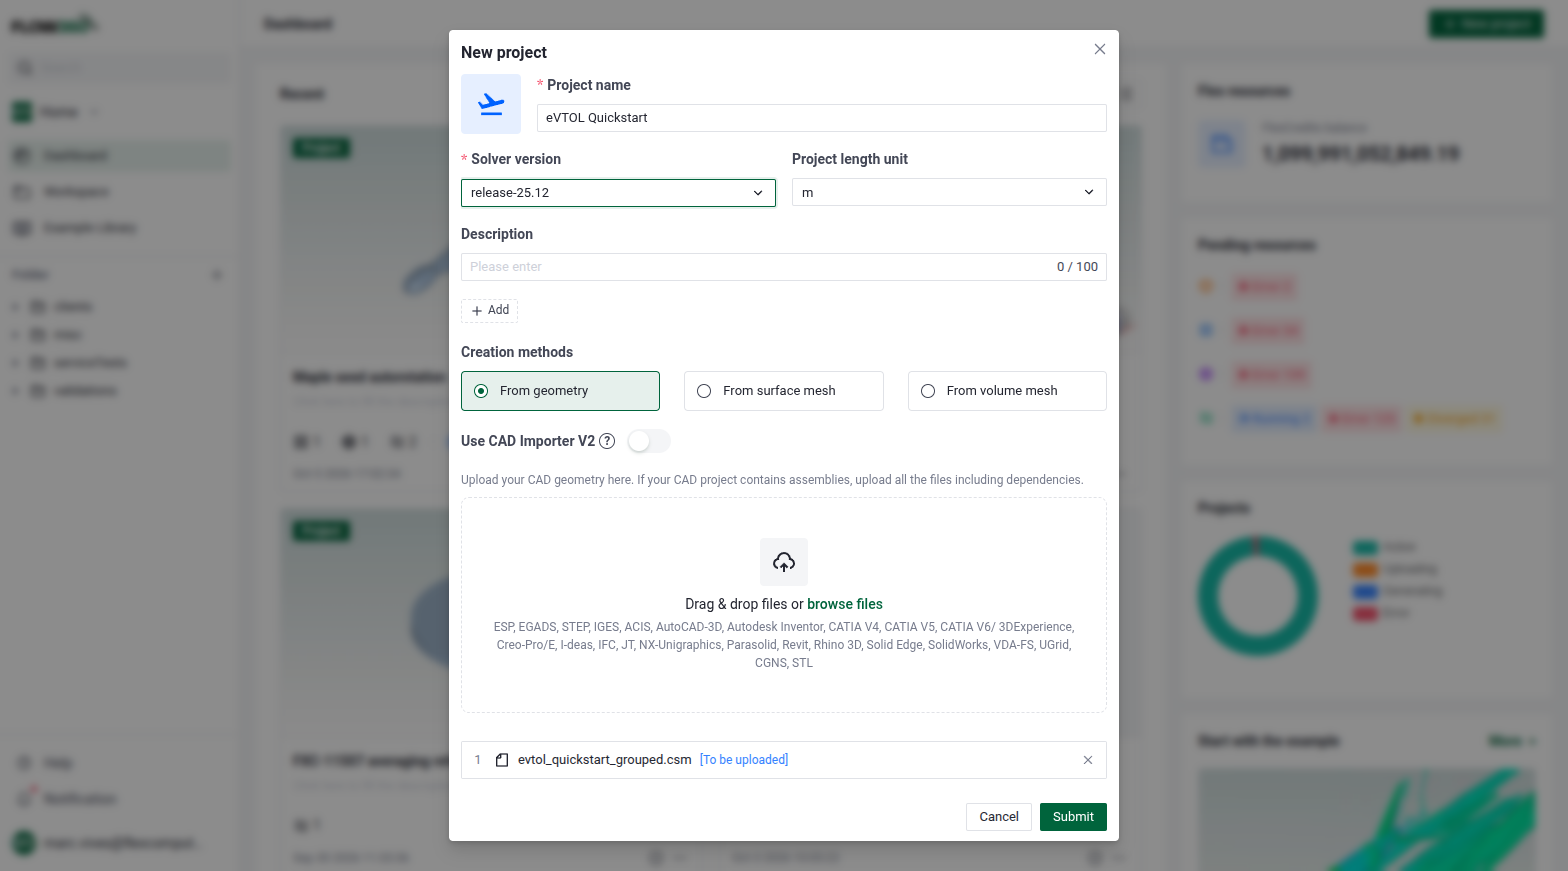
The evtol_quickstart_grouped.csm file is ready to submit.#
Click Submit. The window closes, the file uploads in the background, and the new project appears under Recent on the dashboard. Once the upload and processing finish, click the project to open it in the workbench.
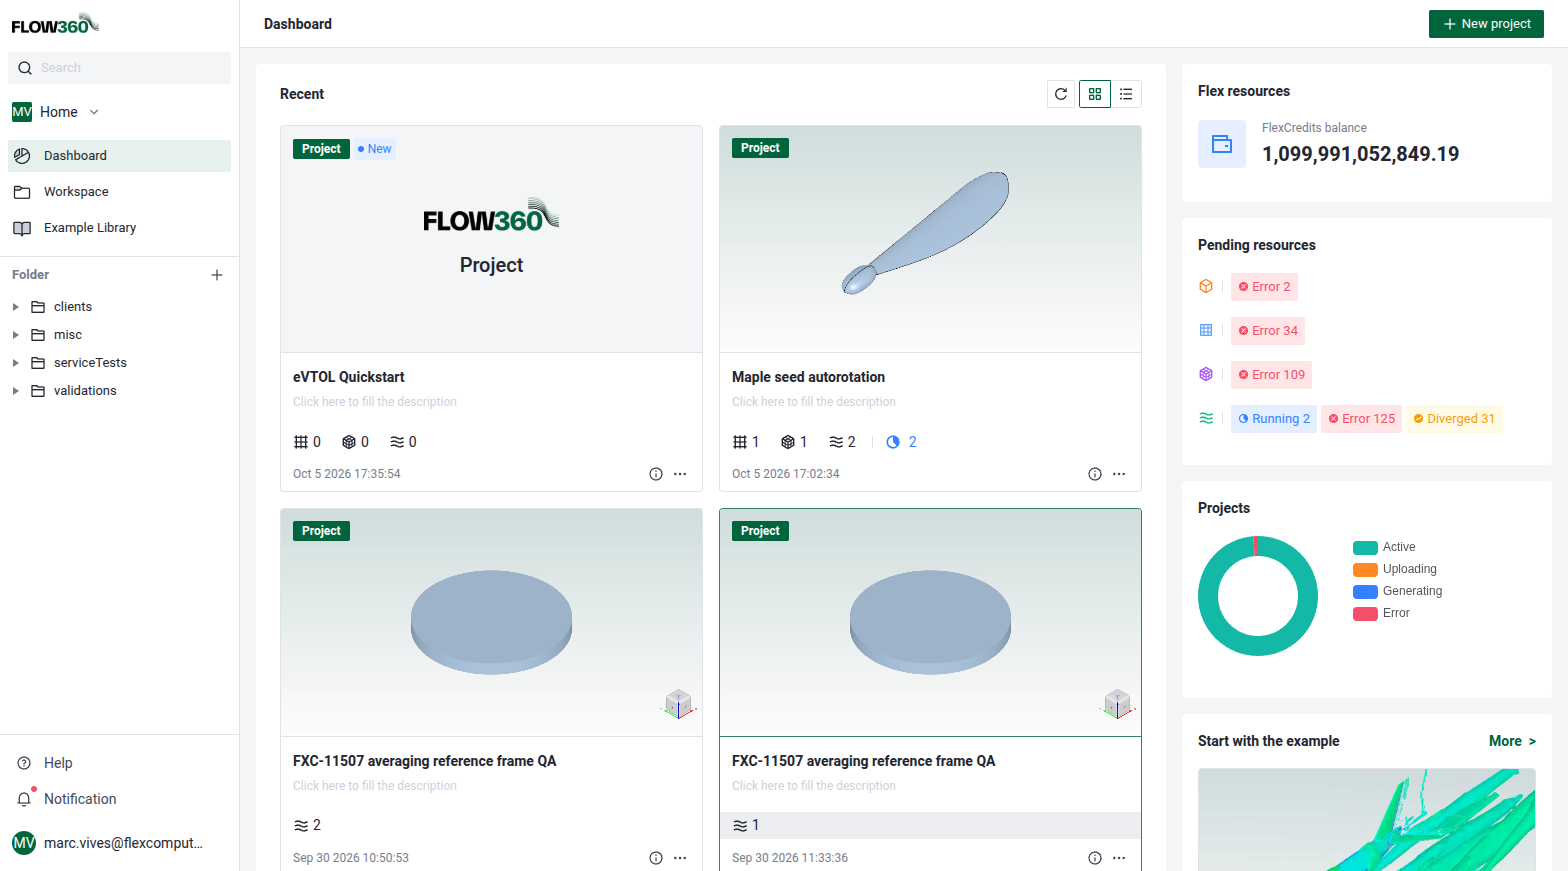
The new project on the dashboard.#
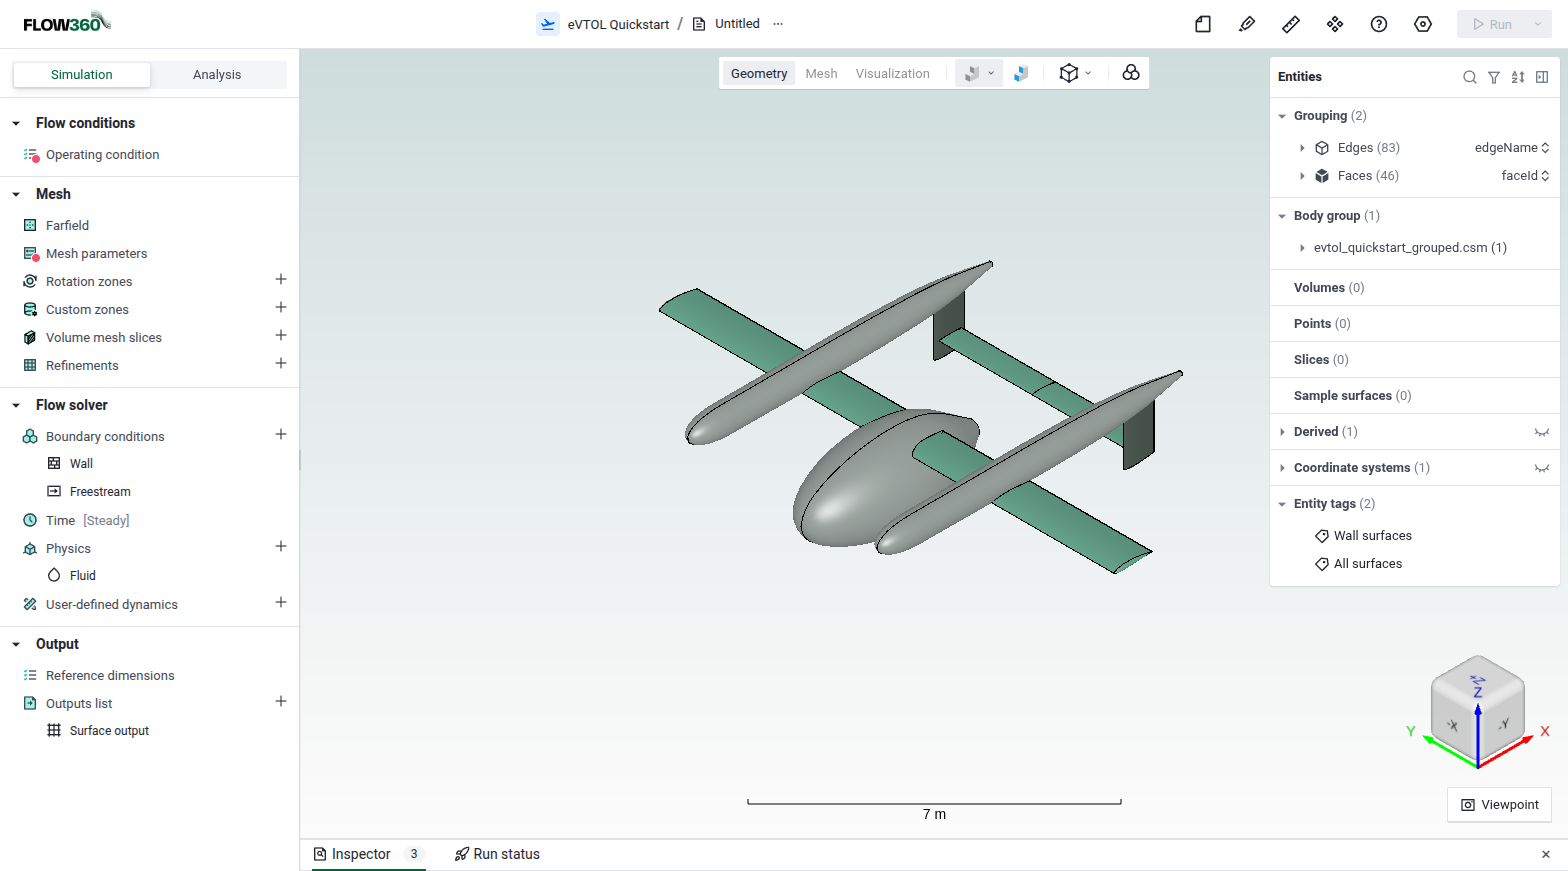
The uploaded eVTOL geometry.#
Because we uploaded a CAD geometry, the next step is to mesh it with the automated meshing tool chain. A project can also start from a surface mesh or a volume mesh instead. If you bring your own volume mesh, follow our meshing guidelines.
You can now proceed to the next quick start tutorial on automated meshing.