Geometry#
Overview#
Geometry objects are used in Tidy3D to build EM structures. A variety of built-in primitives are supported, as well as boolean operations and spatial transformations. Collections of geometry objects can also be combined in geometry groups.
Note
The default length unit in Tidy3D is the micrometer (:math:`mu`m).
Tidy3D also has built-in interoperability with GDSII and STL file formats. See the sections below for details:
See also
For the user’s convenience, we have created a list of commonly used photonic crystal and integrated circuit components in the following pages:
Primitives#
Rectangular prism. |
|
Spherical geometry. |
|
Cylindrical geometry with optional sidewall angle along axis direction. |
|
Polygon extruded with optional sidewall angle along axis direction. |
|
Interface for dividing a complex polyslab where self-intersecting polygon can occur during extrusion. |
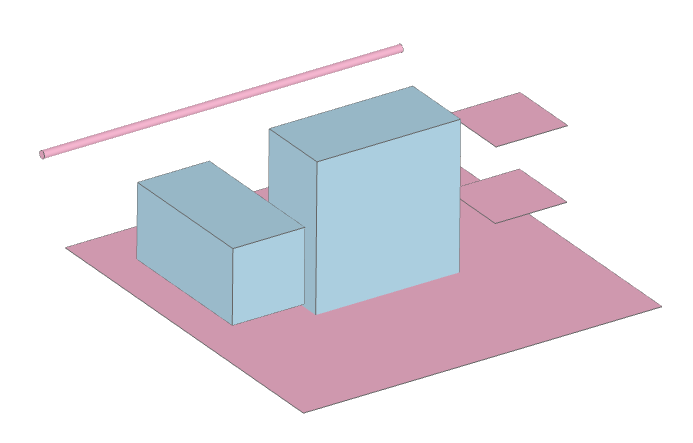
Create 1D lines, 2D planes, and 3D boxes with Box.
# create a box by specifying center position and size
my_box1 = Box(center=(-2,0,0), size=(1,2,1))

# create a box by specifying min/max bounds
my_box2 = Box.from_bounds(rmin=(-1,-0.5,-1), rmax=(1, 0.5,1 ))

# create a 2D plane by setting size to zero in the normal direction
my_plane = Box(center=(0,0,-1), size=(5,5,0))

# create a 1D line by setting size to zero in two dimensions
my_line = Box(center=(0,3,0), size=(5,0,0))

# get the 2D planar faces of a box quickly using the surfaces() method
my_box_surfaces = Box.surfaces(center=(2,0,0), size=(1,1,1))
my_box_surfaces = my_box_surfaces[4:]  # keep only the planes normal to z
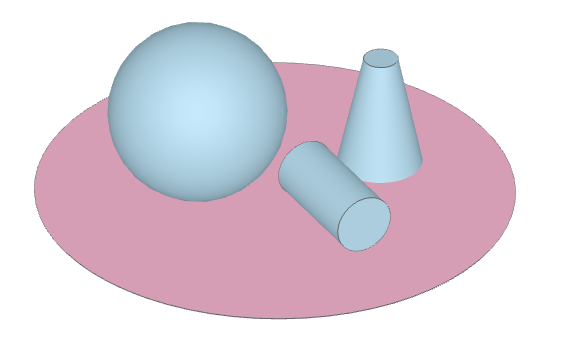
Spheres are created with the Sphere class. The Cylinder class can be used to create cylinders and conical geometry in 3D, as well as circles in 2D.
# create a sphere
my_sphere = Sphere(center=(-2,0,0), radius=1)

# create a cylinder
my_cylinder = Cylinder(center=(0,0,0), axis=1, radius=0.5, length=2)

# create a conical geometry by specifying sidewall_angle (radians)
my_conical_shape = Cylinder(center=(2,0,0), axis=2, radius=0.5, length=2, sidewall_angle=np.pi/15)

# create a circle
my_circle = Cylinder(center=(0,0,-1), axis=2, radius=5, length=0)
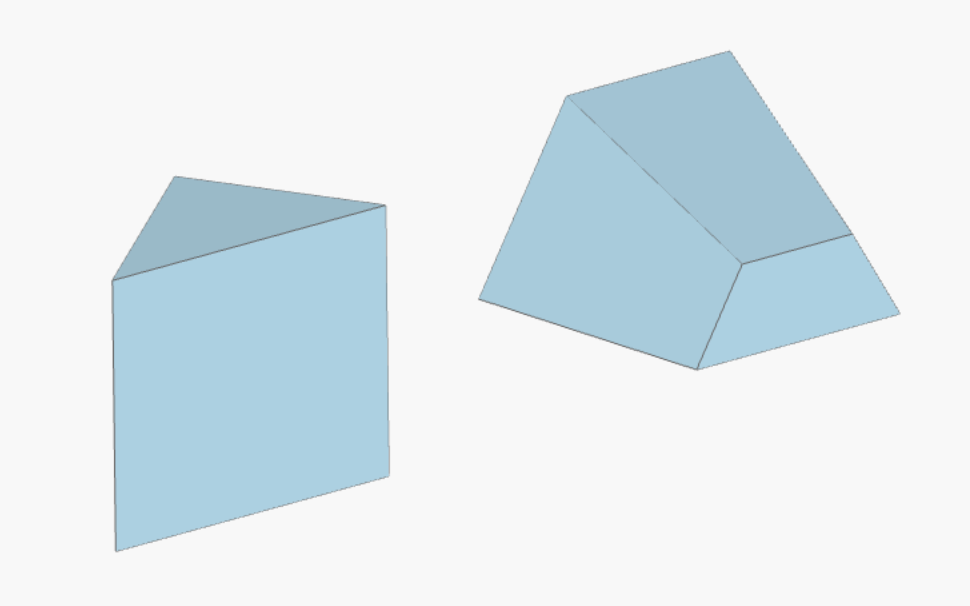
Use the PolySlab class to create custom polygons in 2D and extruded polygons in 3D.
# specify the in-plane polygon vertices
my_vertices = np.array([(-3,0), (-1,0), (-2,1)])

# create polyslab from vertices
my_polyslab = PolySlab(vertices=my_vertices, axis=2, slab_bounds=(0,2))

# polyslabs can also be tapered using the sidewall_angle attribute
my_vertices2 = np.array([(1, 0), (3, 0), (2.5, 1), (1.5, 1)])
my_polyslab2 = PolySlab(vertices=my_vertices2, axis=1, slab_bounds=(0,2), sidewall_angle=np.pi/20)
More complicated polyslabs with potentially self-intersecting behavior can be modelled using the ComplexPolySlab plugin. Please see the linked article below for more information.
See also
For more details and examples, please see the following learning center articles:
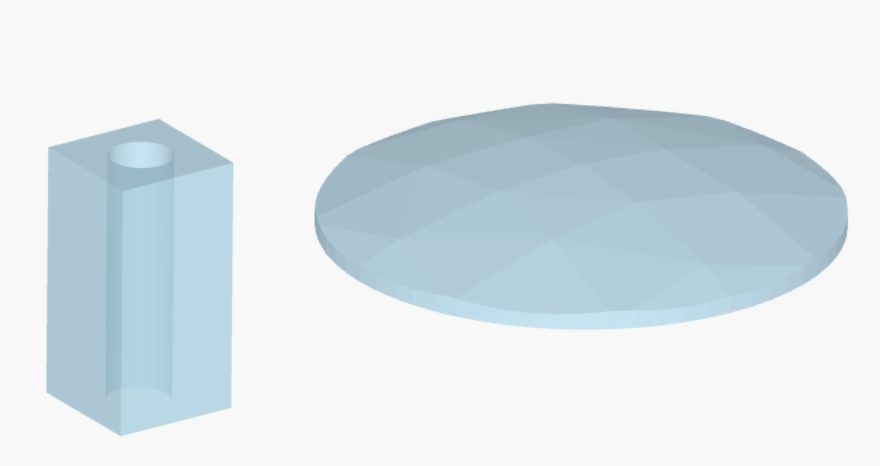
Boolean Operations#
Class representing the result of a set operation between geometries. |
The ClipOperation class supports union, intersection, difference, and symmetric difference between two geometry objects.
# difference
my_boolean1 = ClipOperation(
    operation='difference',
    geometry_a=Box(center=(-2,0,0), size=(1,1,2)),
    geometry_b=Cylinder(center=(-2,0,0), axis=2, radius=0.25, length=2)
)

# intersection
my_boolean2 = ClipOperation(
    operation='intersection',
    geometry_a=Sphere(center=(2,0,-6), radius=6),
    geometry_b=Cylinder(center=(2,0,0), axis=2, radius=2, length=1)
)
You can use the following binary operators as convenient shorthand for the respective operation:
Union:
a + bDifference:
a - bIntersection:
a * bSymmetric difference:
a ^ b
Note that a and b must be Geometry objects.
# using binary operator as shorthand
my_box = Box(center=(-2,0,0), size=(1,1,2))
my_cylinder = Cylinder(center=(-2,0,0), axis=2, radius=0.25, length=2)
my_boolean1 = my_box - my_cylinder
Spatial Transformations#
|
Return a translated copy of this geometry. |
|
Return a scaled copy of this geometry. |
|
Return a rotated copy of this geometry. |
Class representing a transformed geometry. |
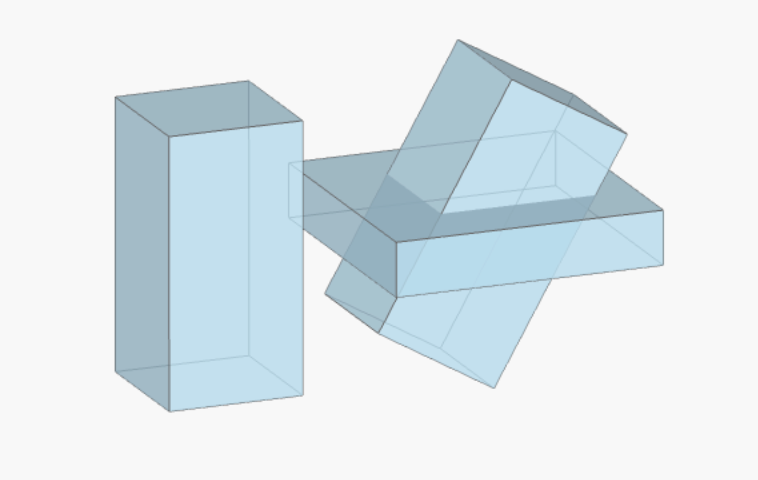
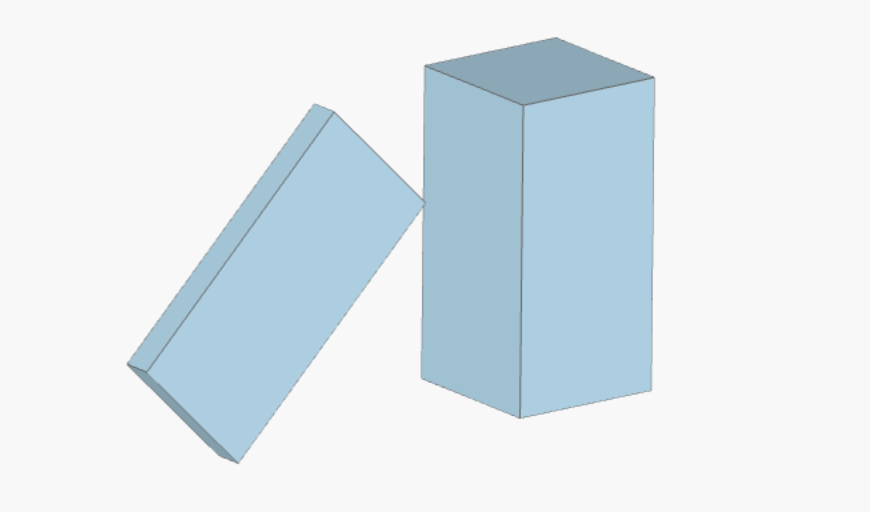
You can use translated(), scaled(), and rotated() with any geometry object to perform the respective transformation.
my_box = Box(center=(0,0,0), size=(1,1,2))
my_box_rotated = my_box.rotated(angle=np.pi/6, axis=1)
my_box_translated = my_box.translated(-2,0,0)
my_box_scaled = my_box.scaled(2,2,0.2)
Alternatively, you can use the Transformed class to implement a 4D transformation matrix.
# use static methods in Transformed to generate 4D transformation matrices
mat_translation = Transformed.translation(-2, 0, 0)
mat_scaling = Transformed.scaling(1, 0.2, 1)
mat_rotation = Transformed.rotation(angle=np.pi/4, axis=1)

# multiply matrices together to make arbitrary transformation
mat_transformation = mat_translation @ mat_rotation @ mat_scaling
my_box_transformed = Transformed(geometry=my_box, transform=mat_transformation)
See also
For more details and examples, please see the following learning center article:
Geometry Groups#
A collection of Geometry objects that can be called as a single geometry object. |
When working with a large number of geometry objects belonging to the same tidy3d.Structure, it is more computationally efficient to combine them into a single GeometryGroup.
# create an array of geometry objects
my_geom_list = []
for i in range(5):
    for j in range(5):
        my_geom_list += [Box(center=(2*i, 2*j, 0), size=(1,1,1))]

# consolidate them into a single group to create a single structure
my_geom_group = GeometryGroup(geometries=my_geom_list)
my_structure = Structure(geometry=my_geom_group, medium=my_medium)
Working with GDS#
|
Import a |
|
Export a Geometry object's planar slice to a .gds file. |
|
Append a Geometry object's planar slice to a .gds cell. |
|
Convert a Geometry object's planar slice to a .gds type polygon. |
The GDSII file format is commonly used in integrated circuit design to specify geometric shapes, labels, and other simulation metadata. Tidy3D supports the creation, import, and export of GDSII files via the third party packages gdstk or gdspy. Please find detailed usage instructions in the linked articles below.
See also
For more details and examples, please see the following learning center articles:
Working with Trimesh and STL#
Custom surface geometry given by a triangle mesh, as in the STL file format. |
The TriangleMesh class is an alternative way to represent geometry using vertex and face information, similar to the STL file format.
import trimesh
vertices = np.array([[0, 0, 0], [1, 0, 0], [0, 1, 0], [0, 0, 1]])
faces = np.array([[1, 2, 3], [0, 3, 2], [0, 1, 3], [0, 2, 1]])
my_trimesh_geom = TriangleMesh.from_vertices_faces(vertices, faces)
Use the from_stl() class method to import from an external STL file, or from_trimesh() to import from a trimesh.Trimesh object. For more information, please see the articles linked below.
See also
For more details and examples, please see the following learning center articles: